Best AI Tools for Stock Contributors in 2026: Cull, Edit, and Keyword Faster Without Breaking Agency Rules
By raof010 · Published November 2, 2026 · Updated November 2, 2026

A stock contributor's week is mostly not photography. It is culling a thousand frames, editing the keepers one by one, and then writing titles and keywords for every file before upload. That is exactly the kind of repetitive, judgment-heavy work AI tools are good at speeding up — and exactly the kind of work where a careless tool choice can get files rejected or, worse, put an account at risk. The difference between a contributor who saves ten hours a week with AI and one who earns a policy warning is not the tool. It is knowing which job each tool is doing, and where the agency line sits. This guide sorts the 2026 toolkit by job — culling, editing, keywording — prices the main options from 2026 comparisons, and gives you a workflow that keeps the human in charge of every decision an agency actually judges.
The Rule That Decides Everything: Assist, Don't Generate
Before any tool recommendation, the distinction that protects your account: AI-assisted editing of a photo you took with a camera is a different thing from submitting a fully AI-generated image. The first is normal post-production — denoise, sharpening, masking, colour correction, culling decisions — applied to your own photograph. The second is an image a generator created from a prompt, with no camera behind it. Agencies treat the two very differently, and confusing them is the fastest way to break a rule you never meant to break.
Adobe Stock accepts AI-generated content when it is properly labelled as generative AI, filed in the right category, and cleared for commercial rights. Shutterstock, by contrast, does not accept AI-generated submissions from contributors at all — its position, as covered in our guide to AI-generated stock rules, is that contributors cannot prove individual ownership of generated imagery. That means a tool that generates a whole new image is not a workflow shortcut for your Shutterstock portfolio, however good the result looks. A tool that denoises, sharpens, or helps you pick between two frames you shot is a different category entirely, and it is the category this guide recommends.
Two cautions stay in force whatever tool you pick. First, policies in this area move fast: check the current contributor terms on each agency before you build a batch around a new tool, especially for anything that adds, removes, or replaces content in the frame (generative fill, object removal, sky replacement). A heavy edit that changes what the photo depicts can turn a camera photo into something an agency treats as generated. Second, never strip metadata or provenance labels to hide how a file was made. Honest labelling costs nothing; a discovered mislabel can cost a portfolio. When in doubt, keep the edit conservative and keep the file in the camera-photo lane.
Job 1: Culling — Let AI Do the First Pass, Not the Final Call
Culling is where AI saves the most time, because it is the most mechanical judgment in the workflow: is this frame sharp, are the eyes open, is this a duplicate of the keeper next to it? Three tools dominate 2026 comparisons, and they differ mainly in where the processing happens and how much control you keep.
Aftershoot is the flat-fee, offline option. Its culling runs on your own machine, so thousands of RAW files never need uploading, and 2026 comparisons put its Select plan at about $10 per month billed annually (about $120 per year), with a 30-day trial and unlimited images on that plan. It scores sharpness, eyes, and duplicates, and hands its picks to Lightroom, Capture One, or Photo Mechanic. It suits contributors who shoot in volume and work on slow connections. Its weakness is the same as its strength: because it runs locally, it needs a reasonably capable machine, and its picks still need your eye — it is a first pass, not a verdict.
Imagen pairs culling with editing profiles trained on your past Lightroom edits, and it processes in the cloud. That makes it the natural pick if you already live in Lightroom Classic and want culling and editing in one project, including a "cull to an exact number" option for client-style deliveries. The trade-offs are cloud upload time for large shoots and per-photo or subscription pricing that scales with volume — 2026 comparisons describe pay-as-you-go pricing with a small monthly minimum alongside flat plans, so confirm the current price at checkout before committing. Imagen's learning is genuinely useful for a contributor with a consistent style, and genuinely wasted on someone whose portfolio jumps between genres every week.
Narrative Select takes the assistive route: it scores focus and eyes and groups scenes, but it never selects for you. 2026 comparisons put it at about $10 per month billed annually on its basic tier, and it is Mac-only, which rules it out for Windows contributors outright. If you distrust full automation and want speed without surrendering the decision, this is the honest middle ground. And the non-AI benchmark still matters: Photo Mechanic remains the fastest manual ingesting and sorting tool, with no AI at all, for contributors who prefer to make every call themselves and just want the interface to keep up.
Whichever culler you choose, run it with a keeper discipline. A common healthy rate is 25 to 35 keepers from a 150-frame session; if the AI hands you 80, your threshold is too loose and review will do the culling for you, with rejections attached. Judge keepers on three things only — technical quality, commercial clarity, and distinctness — and delete rejects from the batch folder the same day, so they cannot sneak back in during editing.

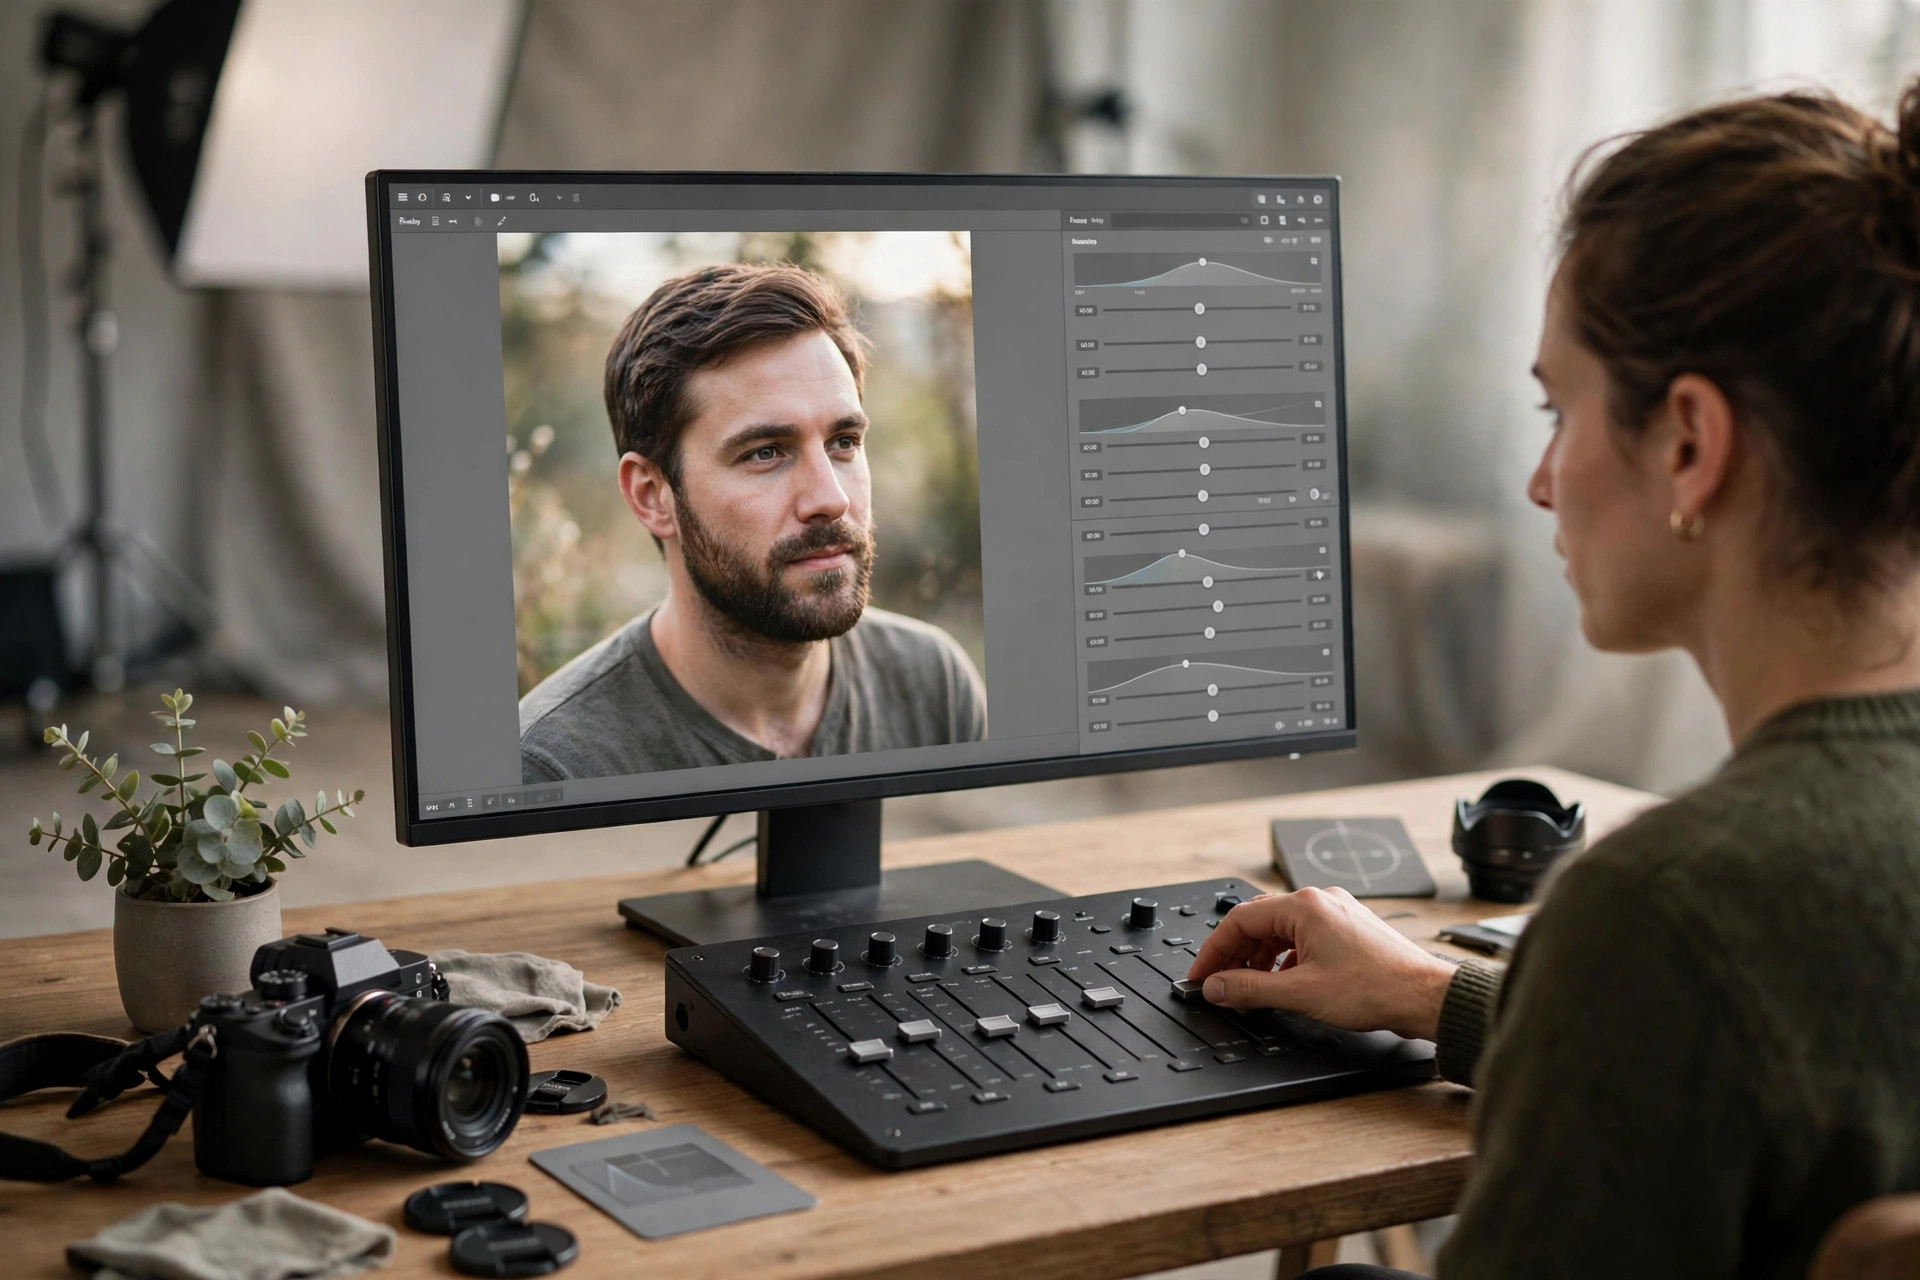
Job 2: Editing — Denoise, Masks, and Profiles That Keep Files Natural
Editing AI falls into three useful buckets, and one dangerous one. The useful buckets are noise reduction, masking and selection, and learned editing profiles. The dangerous bucket is anything that invents content — a new background, a replaced sky, a removed person — and then presents the result as an unedited camera photograph. Keep your editing AI in the first three buckets and your stock files stay defensible.
Lightroom's AI denoise and masking are the baseline most contributors already pay for, and they are the safest place to start. AI denoise rescues high-ISO frames that would otherwise fail the 100% zoom check, and AI masks (subject, sky, background) turn a five-minute local adjustment into a one-click selection you then refine by hand. Because these tools ship inside the editor most agencies expect, they raise no provenance questions on their own. The discipline is restraint: denoise until the noise is gone, not until the skin looks plastic, and sharpen until detail reads at 100%, not until halos appear around edges. Reviewers reject over-processed files as readily as noisy ones.
Learned editing profiles (Imagen, Aftershoot editing) are the next step for contributors with a consistent look. Both tools learn from your past edits — Imagen from your Lightroom history, Aftershoot from trained or preset-based profiles — and apply a starting edit to a whole batch, which you then adjust per file. 2026 comparisons put Aftershoot's editing bundle at about $30 per month billed annually, and Imagen on pay-as-you-go or flat plans; treat both figures as "confirm at checkout" ranges, not quotes. The payoff is consistency across a series, which is exactly what campaign buyers want. The risk is sameness: a profile trained on your wedding work will flatten a bright commercial series if you apply it blindly, so always re-tune per series and never let a profile be the last eyes on a file.
Upscaling and sharpening tools (such as Topaz Photo AI) deserve a narrow, honest role: rescuing a slightly soft or slightly small file that is otherwise excellent, and bringing it up to an agency's minimum resolution. They do not turn a bad photo into a good one, and they do not create detail that was never there — they infer it, which is why heavy upscaling on faces, text, or fine patterns can produce artifacts a reviewer will catch at 100%. Use upscaling sparingly, check the result at full zoom, and never use it to disguise a file that failed on focus in the first place. A soft file you upscale is still a soft file with extra steps.
Job 3: Keywording and Metadata — Draft With AI, Decide Yourself
Metadata is the job where AI help is most tempting and most dangerous in equal measure. An AI tool can draft a title and a keyword list for a photo in seconds, and it can also produce the exact failure modes agencies punish: irrelevant trend words, identical keyword blocks across similar files, subjective filler ("beautiful", "amazing"), and brand or camera terms that do not belong in metadata at all. The safe rule is simple: AI drafts, you decide, and the final list follows the same method as a hand-written one.
That method is the one in our guide to advanced stock keywording: build each file's tags in layers — primary subject, secondary elements, setting, concept, format — aim for Adobe's recommended 15 to 25 keywords with your strongest phrases in the first ten slots, and stay inside Shutterstock's 7 to 50 range without tripping its compound-keyword rule. An AI draft is useful as a first layer: it will usually name the obvious subjects and setting correctly. It is unreliable on the layers that actually sell — the concept layer ("slow living", "retirement lifestyle") and the exact buyer phrase — and it will happily invent keywords for things that are not in the frame. Treat every AI-suggested keyword as a claim to verify against the image, not a fact. If you cannot see it in the frame, delete it.
Two metadata habits protect you at any volume. First, never copy one keyword block unchanged across a series: agencies treat identical metadata on similar files as a similar-content signal, and buyers searching for one file's specific angle will never find it. Vary the title and the keyword core per file, even when the shoot is shared. Second, keep a banned-words note in your metadata preset — no brand names, no camera specifications, no subjective filler — and run it against AI drafts too, because AI tools trained on the open web love all three. A draft that saves you five minutes per file and costs you a rejection per batch is not saving time.

The Workflow That Ties It Together
Tools only pay off inside a system, and the system that fits this toolkit is the one in our batch uploading workflow: shoot in series, cull in one pass, edit with one preset per series, build metadata from one preset per series, run a QA gate, and submit in tranches. AI slots into that system at exactly three points, and nowhere else. At culling, the AI makes the first pass and you confirm the keepers. At editing, the AI applies the series preset and the denoise, and you refine per file and check at 100%. At metadata, the AI drafts and you rewrite, layer, and order the final list. Everything after that — the QA gate, the tranche decision, the rejection log — stays human, because those are the steps where judgment, not speed, is the product.
A realistic weekly shape for a contributor shooting one or two series a week: Monday shoot, Tuesday AI cull plus human confirmation and preset edit, Wednesday AI-drafted metadata rewritten by hand and CSV-built per agency, Thursday QA gate and upload, Friday first tranche submitted and logged. The AI steps compress Tuesday and Wednesday from full days into half days. They do not compress Thursday, and they should not: the QA gate is where an AI mistake gets caught before it becomes 30 identical rejections. If your workflow has no QA gate, adding AI tools will multiply your errors at the same rate it multiplies your output.
Once a quarter, run the same discipline backwards over your live portfolio with a portfolio audit: sort for zero-download files, check whether their titles and keyword layers still match what buyers search, and re-keyword the revivable ones. AI drafting is genuinely useful here too — an old file's tags are often thin in exactly the concept layer an AI draft can suggest — but the same verification rule applies: every suggested tag must describe something visible in the frame.
What Not to Automate, Ever
Some decisions look automatable and are not, and automating them is where contributors get hurt. Do not automate release decisions: whether a recognizable person or property needs a signed release, and whether that release covers commercial use, is a legal judgment about a specific shoot, not a pattern an AI can infer from pixels. Do not automate category choice: the category should match the buyer's dominant use case, and that is a commercial judgment, not a visual one. Do not automate the final 100% zoom check: denoise artifacts, halos, chromatic aberration, and AI-invented detail all hide at thumbnail size and reveal themselves at full resolution. And do not automate the similar-content judgment: only you know whether two keepers are genuinely different images or the same image twice, and agencies reject the second kind.
A related trap is letting an AI tool rename, retitle, or re-keyword your files in a way that erases your own system. Filenames are metadata keys in a CSV workflow: a tool that renames files to its own scheme can break every CSV row that references them. Keep filenames short, descriptive, and unique, and keep them under your control. The same applies to folder structure: one batch folder per week, named by date and theme, so a rejection two weeks later leads you to the file in seconds. Automation that reorganizes your archive without asking is not help; it is a future afternoon lost to searching.
A Starter Stack by Budget
Free to start (no new subscription). Lightroom's built-in AI denoise and masks if you already subscribe, your editor's presets, a spreadsheet for metadata, and the agencies' own uploaders and CSV routes. This stack already covers the three jobs at a basic level, and it is the right place to prove the system works before spending anything. Its limit is culling speed: without a dedicated culler, a 150-frame session still costs you an evening.
About $10 a month (one culling tool). Add Aftershoot Select (about $10 per month billed annually, offline, unlimited images) or Narrative Select (about $10 per month billed annually, Mac only, assistive rather than automatic). This is the highest-return single purchase for a contributor shooting in volume, because culling is the bottleneck that eats the most hours and the least skill. Pick Aftershoot if you want full automation with offline processing; pick Narrative if you want to keep every final decision yourself.
Pro stack (culling plus learned editing). Add a learned editing profile — Imagen or Aftershoot's editing bundle — once your style is consistent enough for a profile to learn from, and once your volume justifies it. A worked example, not a promise: a contributor culling and editing 200 files a month who saves 30 minutes per 20-file batch saves about 5 hours a month. At a $10 to $30 monthly tool cost, that trade pays for itself if those 5 hours become new shoots or new uploads; it does not pay for itself if they become idle time. Buy the tool for the hours you will actually reinvest, not for the hours it claims to save.
Whatever stack you pick, trial it on one real batch before committing. Every tool above offers a trial or a free tier, and a trial on your own worst shoot — the one with mixed light, similar frames, and awkward keywords — tells you more than any review. If the tool cannot handle your hardest batch, it will not handle your average one either.
Key Takeaways
AI-assisted editing of your own camera photos and fully AI-generated submissions are different categories: Adobe Stock accepts labelled AI content, Shutterstock does not accept AI-generated contributor uploads, and heavy content-changing edits can cross the line — check current agency terms before a big batch.
Culling is the highest-return AI job: Aftershoot (about $10/month billed annually, offline) and Imagen (cloud, learns your style) lead 2026 comparisons, with Narrative Select as the assistive Mac-only middle ground and Photo Mechanic as the manual benchmark.
Keep editing AI in the safe buckets — denoise, masking, learned presets, careful upscaling — and always check the result at 100% zoom, because over-processing and invented detail fail review just as surely as noise.
Let AI draft titles and keywords, but decide every tag yourself: layer the final list, lead with exact buyer phrases, vary it per file, and delete anything not visible in the frame.
Tools pay off only inside a system: AI cull, AI preset edit, AI-drafted metadata, then a human QA gate and tranche submission — and never automate releases, category choice, the final zoom check, or the similar-content call.
FAQs
Can I use AI editing tools on photos I submit to Shutterstock?
Yes, for AI-assisted editing of your own camera photos — denoise, sharpening, masking, colour correction — which is normal post-production. What Shutterstock does not accept from contributors is fully AI-generated imagery. Keep edits conservative, avoid tools that invent or replace content in the frame, and check Shutterstock's current contributor terms before uploading a batch edited with a new tool.
Do I need to disclose AI-assisted edits when I upload?
Disclosure rules target generative AI content, not ordinary editing: Adobe Stock requires its generative-AI label for AI-generated submissions, filed with the right category. Standard AI-assisted edits to a camera photo (denoise, masks, profiles) are not generative submissions. If an edit substantially generates new content in the frame, treat it as generative, label it where the agency requires, and when in doubt ask the agency's support before uploading.
Which AI culling tool is best for a beginner stock contributor?
Start with the free route — your editor's own tools and a disciplined one-pass manual cull — until volume makes culling your bottleneck. When it does, Aftershoot Select is the usual first paid pick in 2026 comparisons: about $10 per month billed annually, offline, unlimited images, with a 30-day trial. Trial it on your hardest shoot before paying, and keep the final keeper decision yourself.
Can AI write my titles and keywords for me?
It can draft them, and the draft will usually get subjects and setting right. It cannot be trusted with concept keywords, exact buyer phrases, or relevance: AI drafts routinely add trend words, filler, and details not in the frame. Rewrite every draft into the layered method — subject, elements, setting, concept, format — vary it per file, and verify every tag against the image before submitting.
Will AI tools make my photos get rejected more often?
Only if they remove the human checks. AI culling without a keeper discipline produces near-duplicates; AI editing without a 100% zoom check produces artifacts; AI keywording without verification produces irrelevant tags. Used as a first pass inside a batch system with a QA gate, AI tools raise acceptance rates by making the boring steps consistent — the rejections come from skipping the gate, not from the tool.