Camera Settings for Stock Photography: Sharp, Sellable Images Every Time
By raof010 · Published October 28, 2026 · Updated October 28, 2026
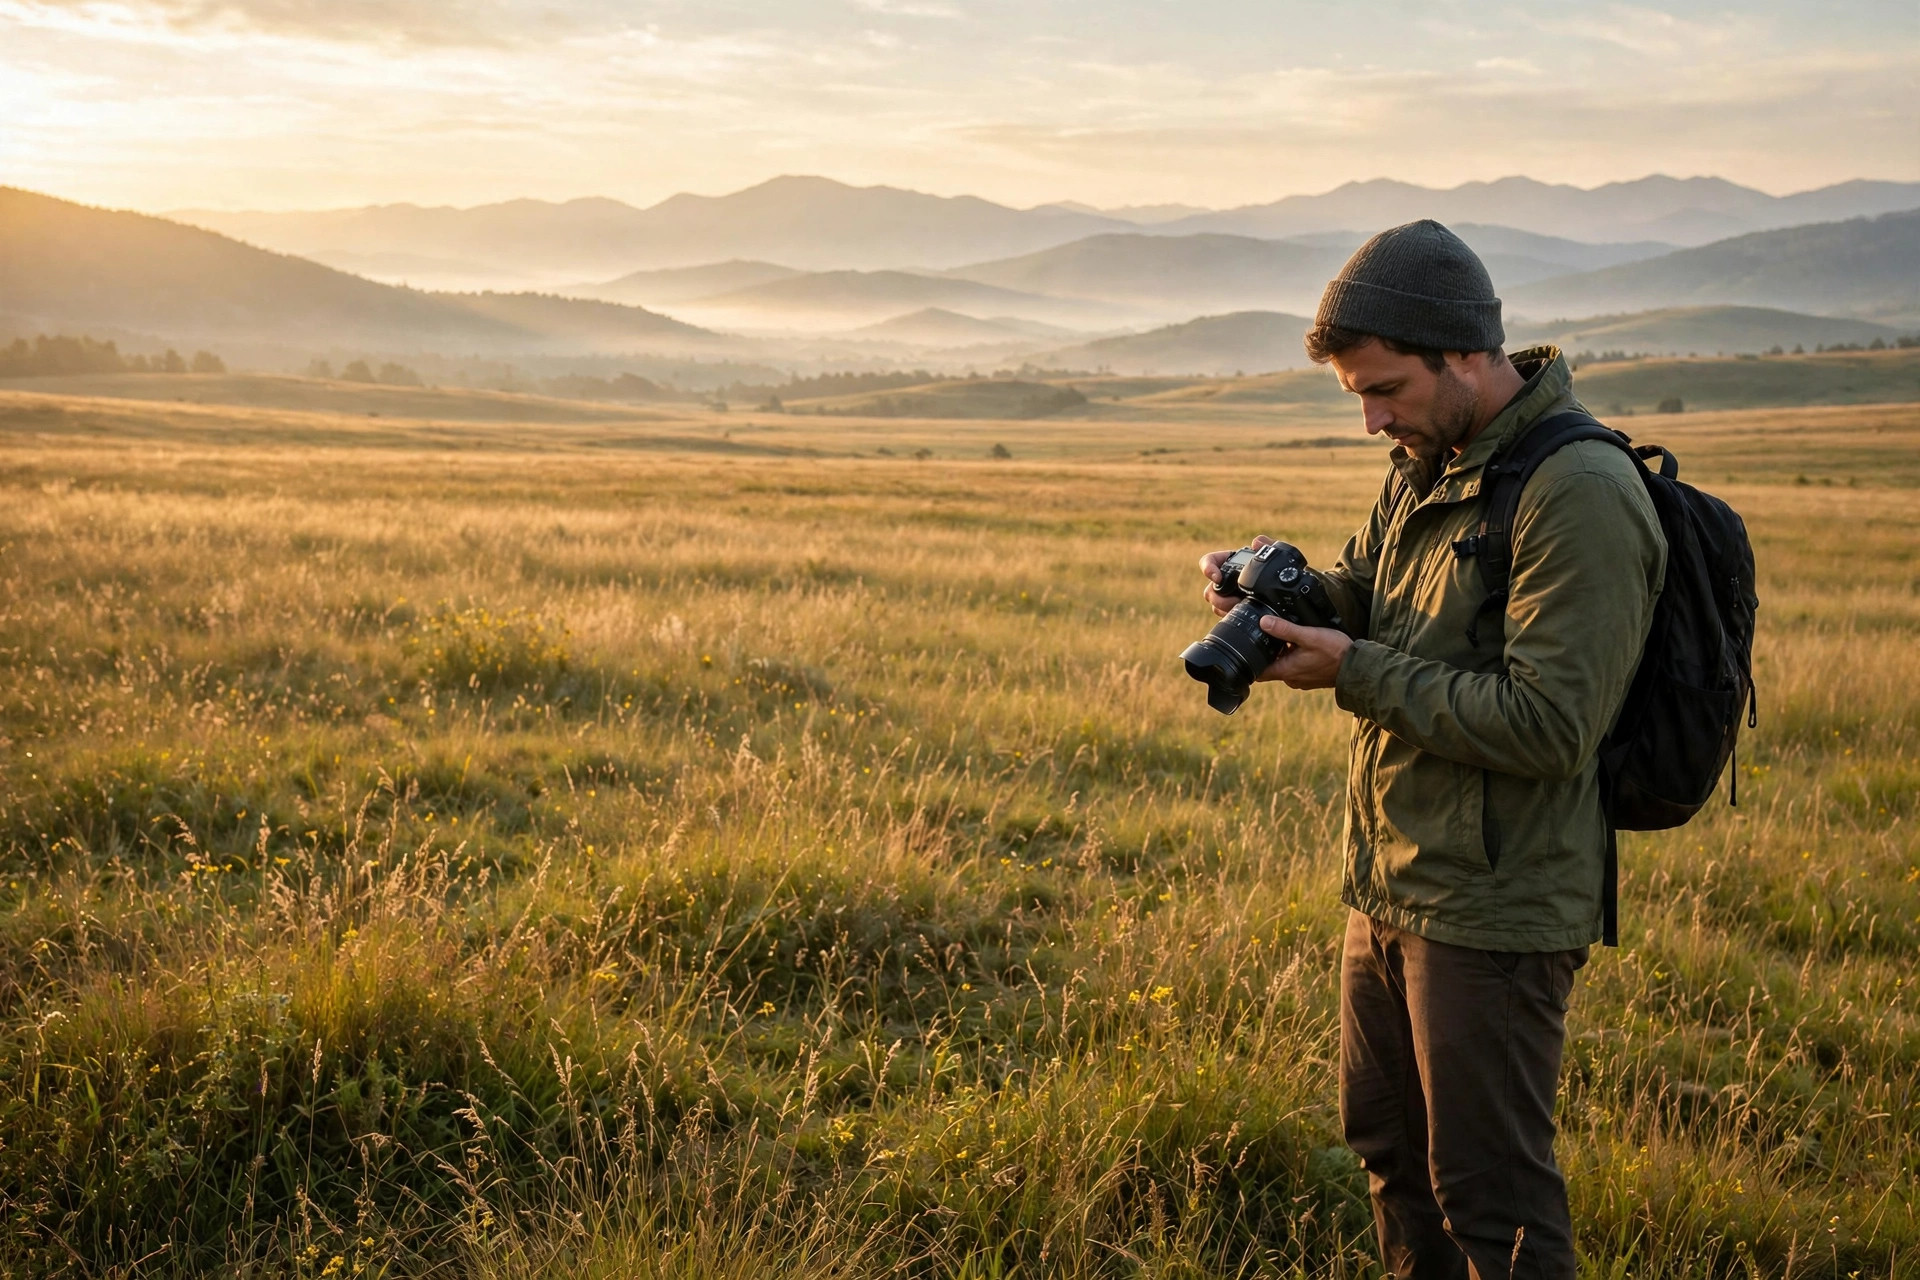
A buyer can forgive an ordinary composition. A reviewer will not forgive a soft file. In stock photography, sharpness is not a finishing touch — it is the first test your photo must pass, and it is judged at 100% zoom, not on your camera's small screen. The good news is that sharp stock photos are mostly a settings discipline, not expensive gear. Set aperture, shutter speed, ISO and focus in the right order, check your files before you submit, and your acceptance rate will climb even on a mid-range camera.
Why Sharpness Is a Submission Gate
Stock reviewers look for one thing above all: a file a buyer can use at full size. A slightly soft portrait might still work as a small web thumbnail, but stock buyers crop, print large, and place images in layouts where flaws show. That is why "poor focus," "noise," and "poor technical quality" sit at the top of rejection lists on both major agencies.
Think of sharpness as a chain with four links: aperture decides how much of the scene is in focus, shutter speed decides whether motion is frozen, ISO decides how much noise rides along, and focus decides where the sharp plane actually lands. If any link fails, the file fails. The rest of this guide fixes the links in the order that matters most on a real shoot.
One habit separates contributors with high acceptance rates from everyone else: they judge sharpness on a large screen at 100% zoom before they ever press submit. Your camera's rear display lies to you. It is small, bright, and flattering. The reviewer's screen is not.
The Exposure Triangle, Set in Stock Order
Every photographer learns the exposure triangle: aperture, shutter speed, and ISO trade against each other to make a correct exposure. For stock work, the order you set them in matters more than the theory.
Set in this order:
Aperture first — it controls depth of field, which is the creative decision you cannot fix later.
Shutter speed second — it must be fast enough for the subject and your hands.
ISO last — it fills whatever light gap remains, at the lowest value that still gives you a sharp shot.
Beginners usually do the reverse: they leave ISO on auto with no cap, let the camera pick a slow shutter, and wonder why faces are soft. Locking the first two decisions and letting ISO float within a limit you choose is the single most reliable stock-shooting habit.
Aperture: The Sharpness Sweet Spot
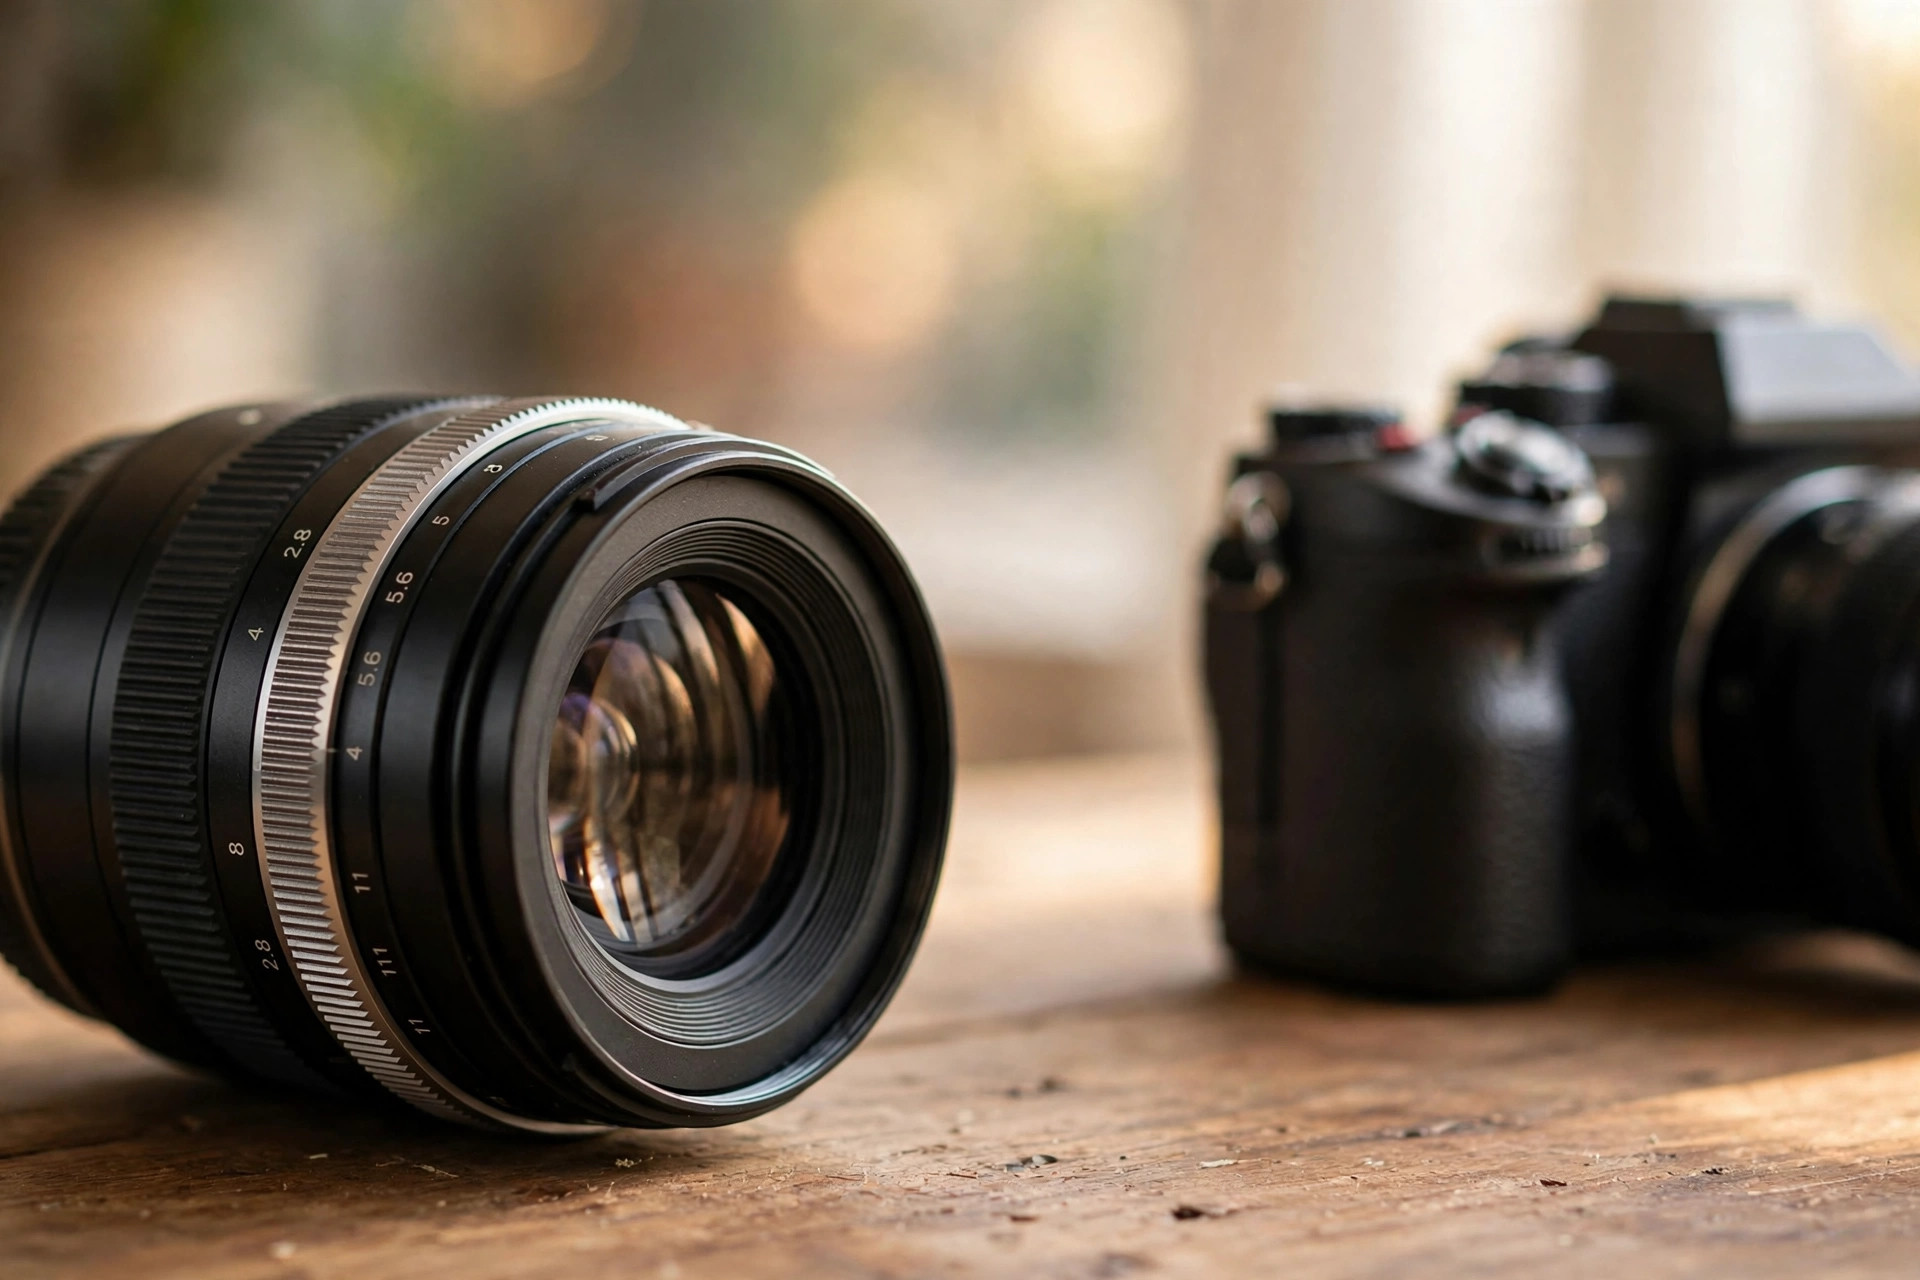
Aperture is measured in f-stops. A small number like f/2.8 means a wide opening and a thin slice of focus. A large number like f/11 means a narrow opening and deep focus. For stock, the goal is rarely the thinnest possible slice. Buyers want usable files, and a file where only one eyelash is sharp is hard to use.
Practical ranges that work:
Portraits and lifestyle: f/2.8 to f/5.6. Wide enough to separate the subject from the background, narrow enough to keep both eyes sharp.
Groups and interiors: f/5.6 to f/8. This keeps a row of people or a whole room acceptably sharp without pushing into diffraction.
Landscapes and architecture: f/8 to f/11. Deep focus from foreground to background, which is what buyers expect from these categories.
Avoid the extremes unless you have a reason. At f/1.4 to f/1.8, focus errors are punished brutally: a subject leaning six inches forward can fall out of focus. At f/16 to f/22, diffraction softens the whole image slightly, which is the opposite of what a reviewer wants to see at 100% zoom. Most lenses are also sharpest two to three stops down from wide open — for an f/2.8 lens, that sweet spot is roughly f/5.6 to f/8, which conveniently matches the stock ranges above.
Shutter Speed: Freeze the Subject, Not Just the Camera
There are two kinds of blur, and shutter speed fights both: camera shake from your hands, and subject movement from the world.
For camera shake, the classic starting rule is to keep shutter speed at least as fast as one over your focal length: 1/50 second for a 50mm lens, 1/200 second for a 200mm lens. Image stabilization helps, but treat it as a bonus, not a plan — reviewers judge the file, not your stabilization marketing.
For subject movement, use these floors as starting points:
Still subjects on a tripod: 1/60 second is fine if nothing moves.
People standing and talking: 1/125 second.
People walking toward you: 1/250 second.
Children, pets, and street action: 1/500 second.
Sports and fast action: 1/1000 second or faster.
If your shutter speed is too slow for the subject, no amount of sharpening in editing will rescue the file. Sharpening adds edge contrast; it cannot invent detail that motion smeared away. When in doubt, raise ISO one stop to buy a faster shutter. A little noise is fixable. Motion blur is not.
ISO: The Lowest Setting That Still Freezes Motion
ISO is your camera's sensitivity control. Low ISO gives the cleanest file; high ISO adds noise — colored speckles, rough texture, and lost detail in shadows. Reviewers check shadows and smooth areas (skies, skin, walls) precisely because noise hides there.
Use these ranges as defaults, then adjust to your own camera:
Bright daylight outdoors: ISO 100 to 200.
Cloudy days and open shade: ISO 200 to 400.
Bright indoors and window light: ISO 400 to 800.
Dim indoors and evening streets: ISO 800 to 1600.
Above ISO 3200: only when the moment matters more than the file — a genuine event you cannot reshoot.
Two rules keep ISO honest. First, set an auto-ISO cap on your camera so it cannot silently climb to ISO 12800 while you are composing. Second, judge noise at 100% zoom in the shadows, not on the back of the camera. A file that looks clean on a three-inch screen can fall apart full-size, and that is exactly where reviewers look.
Modern noise reduction is genuinely good, and a lightly denoised ISO 1600 file can pass where an older camera's ISO 800 file would fail. But heavy noise reduction smears hair, feathers, and foliage into plastic, which reviewers also reject. The goal is the lowest ISO that still freezes motion — not the lowest ISO possible, and not the highest your software can rescue.
Focus: Where Sharpness Is Actually Decided
Aperture, shutter, and ISO can all be perfect and the photo can still be soft, because focus landed on the wrong plane. For people, focus belongs on the nearest eye. For products, it belongs on the hero detail — the label, the texture, the part a buyer is actually purchasing. For landscapes, it belongs roughly a third of the way into the scene, or on the most important foreground element.
Match the autofocus mode to the subject:
Single autofocus (AF-S / One-Shot) for still subjects: portraits, products, interiors, landscapes.
Continuous autofocus (AF-C / AI Servo) for moving subjects: children, animals, sports, street scenes.
Eye detection when your camera offers it and the subject is a person or animal facing the camera. Check that it locked onto the near eye, not an ear or a shoulder.
Single focus point instead of letting the camera choose from dozens of points. The camera will often pick the closest high-contrast object — a fence, a branch, a passerby — instead of your subject.
One common trap: focus and recompose at wide apertures. You lock focus on the eye, tilt the camera to reframe, and the focus plane swings with the tilt. At f/2.8 that swing is enough to soften the eye. Use a focus point positioned over the eye instead, or stop down to f/4 or f/5.6 when you must recompose.
Scene Starting Points: Copy These Settings
Starting points are not rules — they are safe defaults you adjust to the light in front of you. Each row assumes you are shooting RAW or high-quality JPEG and checking focus at 100% zoom afterward.
Scene | Aperture | Shutter speed | ISO starting point | Focus |
|---|---|---|---|---|
Sunny landscape | f/8 to f/11 | 1/250s | 100 | Single point, a third into the scene |
Portrait in open shade | f/2.8 to f/4 | 1/250s | 200 to 400 | Eye detection, near eye |
Lifestyle indoors by a window | f/4 to f/5.6 | 1/125s | 400 to 800 | Single point on the near eye |
Product or flat lay on a tripod | f/8 | 1/60s or slower | 100 | Single point on the hero detail |
Street scene, people walking | f/5.6 | 1/500s | Auto with a 1600 cap | Continuous, single point |
Kids or pets playing | f/4 | 1/500s to 1/1000s | Auto with a 1600 cap | Continuous with eye detection |
Notice the pattern: aperture serves the subject, shutter serves the motion, ISO serves whatever is left. When the light changes, change ISO first — it is the only control that does not alter depth of field or motion rendering.
The File Specs Reviewers Check First
Camera settings get you a sharp frame. File specs get that frame through the upload gate. Both major agencies publish the same headline numbers, so confirm them on each agency's official contributor page before building a batch workflow around them — rules change.
Adobe Stock requires photos in JPEG format with an sRGB color profile, at 4 to 100 megapixels, with a maximum file size of 45 MB. Shutterstock requires photos of at least 4 megapixels in JPEG (recommended) or TIFF, with an sRGB color profile, and caps browser uploads at 50 MB for photos. On both platforms, 4 megapixels means width times height — a 2000 by 2400 pixel file is 4.8 megapixels and passes; a heavily cropped file that drops below 4 megapixels does not, no matter how sharp it looks.
Three export habits follow from those specs:
Shoot and edit from RAW when you can. RAW gives you exposure and white-balance headroom that a JPEG baked in camera does not. Export the final JPEG at the highest quality setting in sRGB.
Never upscale a soft or small file to pass the megapixel floor. Upscaling invents pixels, not detail, and reviewers spot the softness at 100% zoom.
Crop with the floor in mind. A 24-megapixel file survives a generous crop; a phone photo near the minimum does not. Check the pixel dimensions after cropping, before you upload.
Sharp files still need to be found once they are accepted. Our guide to advanced stock keywording shows how to tag the finished file so buyers actually discover it.
The 100% Zoom Pre-Submit Check
Run this check on every file you plan to submit. It takes about a minute per image and catches most technical rejections before a reviewer does.
Open the exported JPEG at 100% zoom. Check the subject's critical detail: eyes in a portrait, texture in a product, edges in architecture.
Scan the shadows. Look for noise, banding, and color speckles in dark areas and smooth skies.
Check the edges of the frame. Look for chromatic aberration (purple or green fringes on high-contrast edges), dust spots, and tilted horizons.
Check the whole frame for intruders. A logo on a shirt, a brand on a package, or a recognizable face without paperwork can fail a file that is technically perfect. If people or private property are identifiable, check model and property releases before you submit.
Confirm the pixel dimensions. Width times height must clear 4 megapixels, with room to spare after any final crop.
Compare against the shoot, not the edit. If you had to brighten an underexposed frame by two stops and the shadows fell apart, that frame is a reshoot candidate, not a noise-reduction project.
If a file fails two or more checks, do not submit it hoping for a lenient reviewer. Fix the file, pick a better frame from the same session, or reshoot the concept. One rejected file costs you nothing but time; a habit of submitting borderline files costs you acceptance rate and, on repeated technical failures, reviewer trust.
When to Break the Rules
Sharpness rules are defaults, not laws. Some of the most sellable stock deliberately breaks them — but it breaks them on purpose, and the intent is obvious.
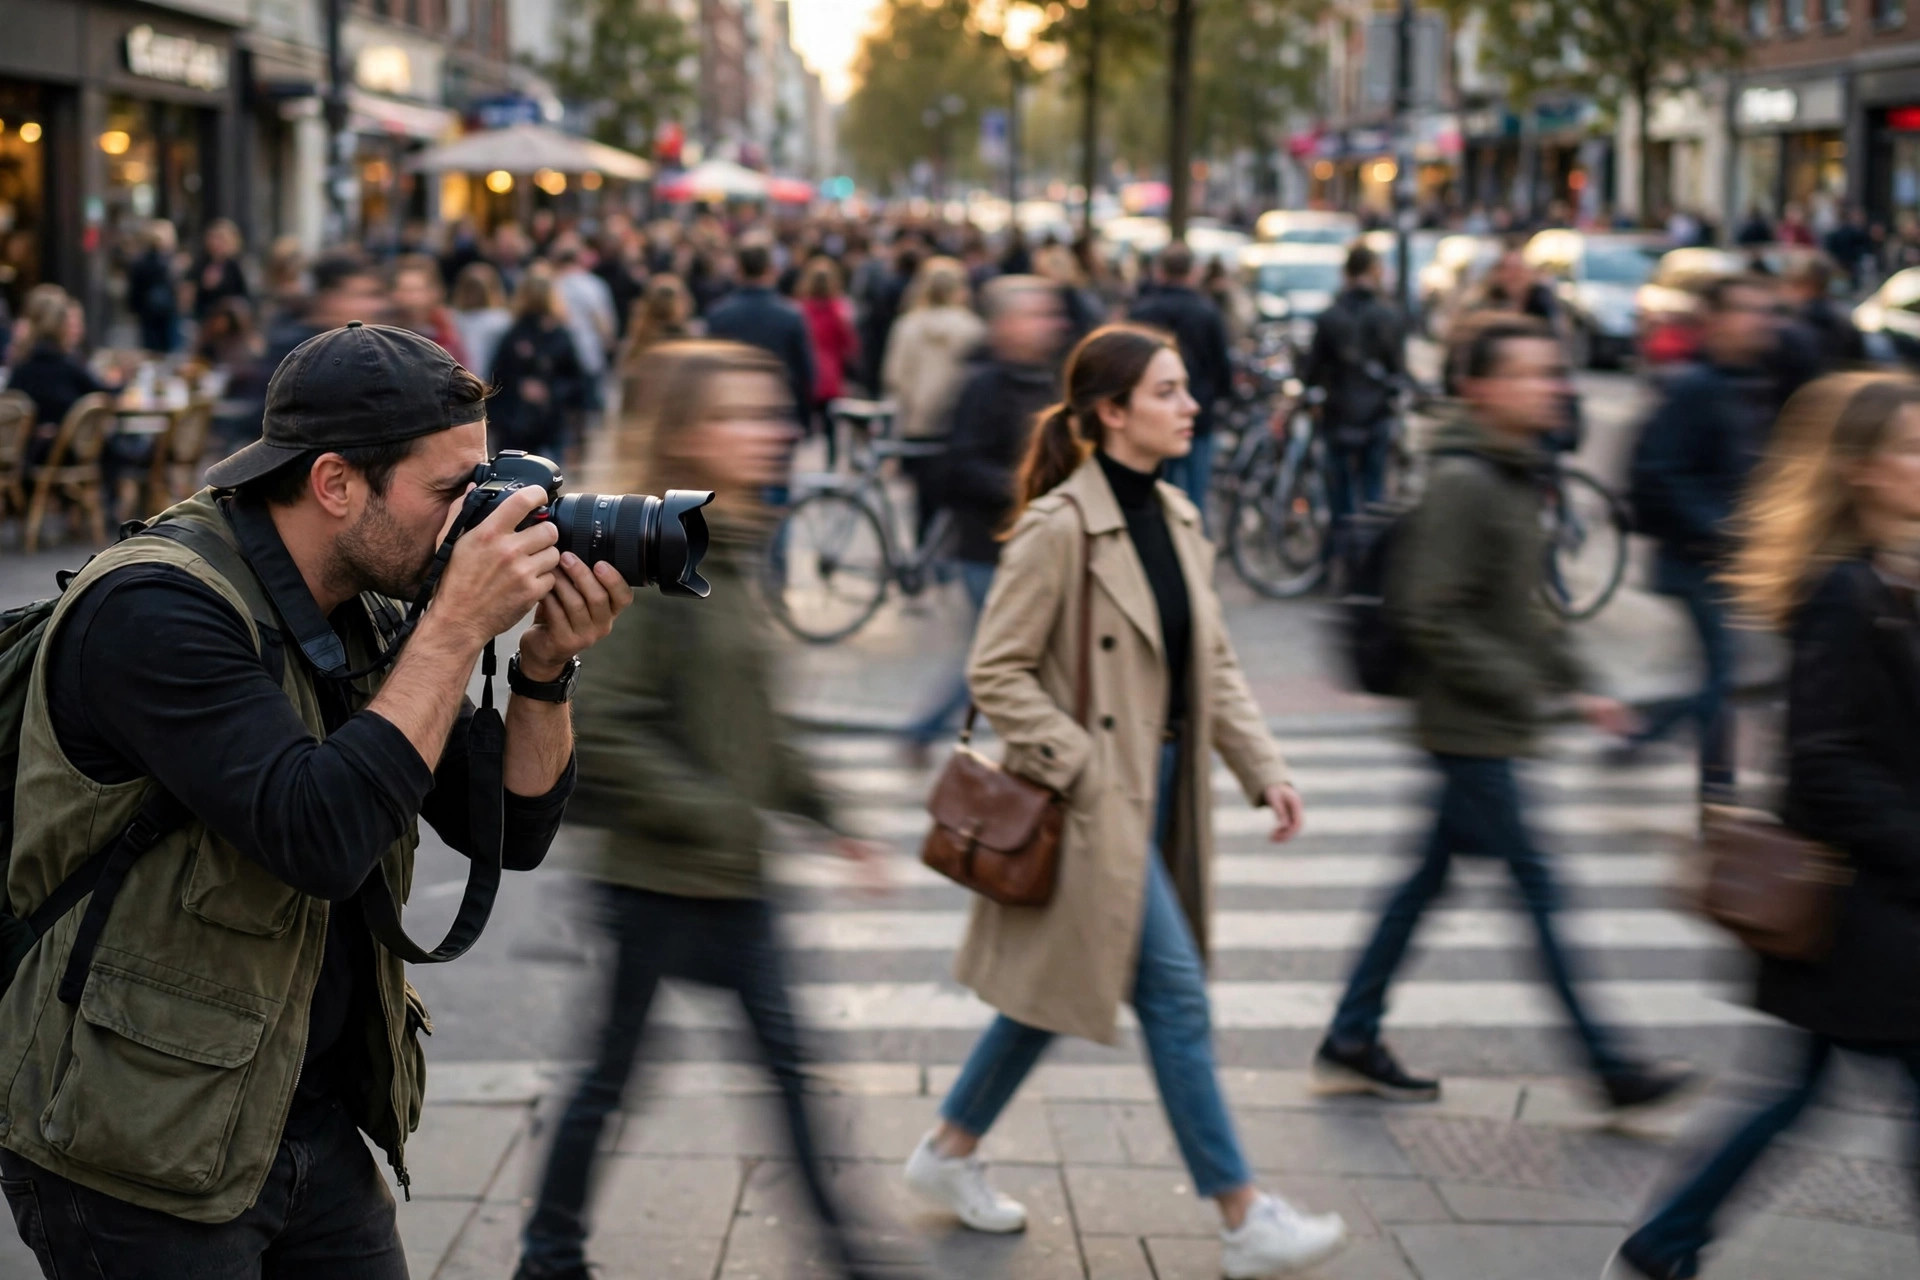
Intentional motion blur sells when the blur tells the story: a long exposure turning a waterfall silky, a slow shutter panning with a cyclist so the rider is sharp and the background streaks. The difference between this and an accident is control — the subject you meant to be sharp is sharp, and the blur has a direction.
Very shallow depth of field sells when the blur isolates a clear subject: a single flower sharp against a melted background, a coffee cup sharp on a blurred cafe table. The difference from an accident is that the sharp point is exactly where a buyer would look first.
Very high ISO sells when the moment cannot be repeated: a concert, a ceremony, a night market. A grainy photo of a real moment beats a clean photo of a missed one, and buyers understand that trade.
What never sells is an accident presented as a choice. If the viewer cannot tell what was supposed to be sharp, the file reads as a mistake. Break one rule at a time, keep the subject unmistakable, and the exception becomes a style.
Common Sharpness Killers and Fixes
Killer | What it looks like at 100% zoom | Fix |
|---|---|---|
Focus on the wrong plane | Background sharp, subject soft | Single focus point on the eye or hero detail; stop down to f/4 or f/5.6 |
Shutter too slow for the subject | Smearing in the direction of movement | Raise shutter to the floors in this guide; raise ISO to buy speed |
ISO too high for the shadows | Speckles and mush in dark areas | Add light, open the aperture one stop, or accept a slower shutter on a tripod |
Diffraction at tiny apertures | Whole image slightly soft at f/16 to f/22 | Stay at f/11 or wider unless deep focus is essential |
Over-sharpening on export | Halos along edges, crunchy texture | Sharpen lightly, judge at 100%, and export at high quality |
Dirty lens or cheap filter | Haze, flare, lost contrast | Clean the front element; test with the filter off |
Heavy crop from a small file | Softness that sharpening cannot fix | Shoot wider or closer; keep the final file comfortably above 4 megapixels |
If sharp files still do not sell after the technical side is clean, the problem is usually discoverability or concept, not the camera. Before blaming your gear, audit your stock portfolio: zero-download files are often keyword or concept failures wearing a technical disguise. And remember that the two agencies do not grade identically — our Adobe Stock vs Shutterstock comparison explains the royalty and workflow differences that decide where a sharp file earns most.

Key Takeaways
Set aperture first for depth of field, shutter second for motion, and ISO last at the lowest value that still freezes the subject.
Live in the stock sweet spots: f/5.6 to f/8 for most subjects, 1/250 second or faster for people in motion, and ISO 100 to 400 in good light.
Focus on the near eye for people and the hero detail for products, using a single focus point you control.
Judge every file at 100% zoom on a large screen before submitting — the camera's rear display is not a sharpness test.
Meet the file floor: at least 4 megapixels, JPEG in sRGB, within each agency's size cap, exported at high quality from the best original you have.
FAQs
What is the best all-round camera setting for stock photos?
Start at f/8, 1/250 second, and ISO 100 in daylight, then adjust: open the aperture for portraits, raise the shutter for movement, and raise ISO only as far as the light forces you. There is no universal setting, but that trio is a safe default for a first frame.
How sharp is sharp enough for Adobe Stock and Shutterstock?
Sharp at 100% zoom on the subject's critical detail, with clean shadows and no visible noise, halos, or motion smear. Reviewers judge the full-size file, not a thumbnail, so check eyes, texture, and edges before you submit.
Should I shoot RAW or JPEG for stock?
RAW when you can. It preserves exposure and white-balance headroom for editing, which matters when a frame is slightly underexposed. Export the final submission as a high-quality JPEG in sRGB either way, since that is what both agencies require for photos.
Does a more expensive camera make stock photos sharper?
Up to a point, no. A mid-range camera with correct aperture, shutter, ISO, and focus settings will out-shoot an expensive camera used on full auto. Gear helps at the extremes — low light, fast action, heavy cropping — but settings discipline is what passes review.
Why do my photos look sharp on the camera but soft on my computer?
The rear display is small and flattering, and it shows a preview, not the full file. Judge sharpness on a large screen at 100% zoom, checking the eyes or hero detail, the shadows for noise, and the edges for fringing and dust spots.